Accessing attribution analytics
You can now access attribution data with the new “Attribution Analytics” feature in the  Text Messaging menu.
How to get started:
To take advantage of Attribution Analytics, you also need to be a Frakture customer. Here are the options to assist you in getting started:
-
Already a Frakture customer? This feature is free and easy to set up, reach out to your customer success manager or your Frakture representative to get started.
-
New to Frakture? You can learn more about their services at Frakture.com. Then reach out to your customer success manager, they’ll help answer any questions and connect you with Frakture to begin the process towards automated ROI metrics.
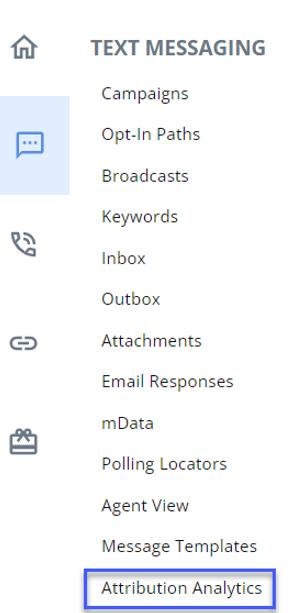
Accessing Attribution Analytics: Select Text Messaging in the left pane, and then select Attribution Analytics.

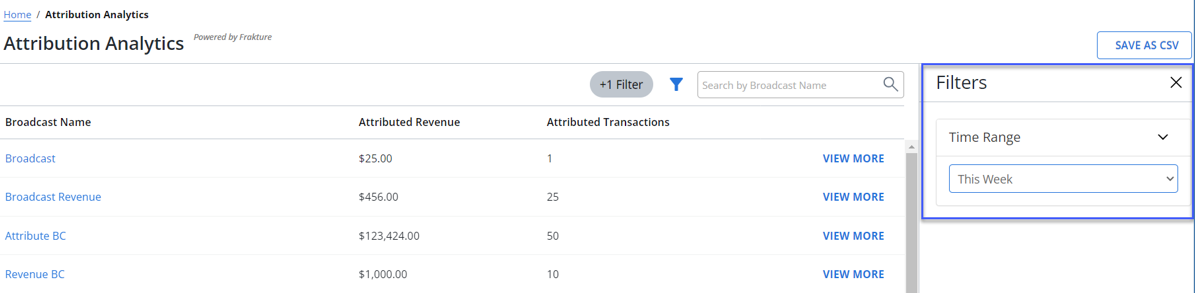
The attribution analytics page opens with the following information:
• Company Name (available only in the admin view): Shows the company name.
• Broadcast Name: Clicking on the broadcast link shows the details related to a specific broadcast.

• Attributed Revenue: Shows attributed revenue.
• Attributed Transactions: Shows attributed transactions.
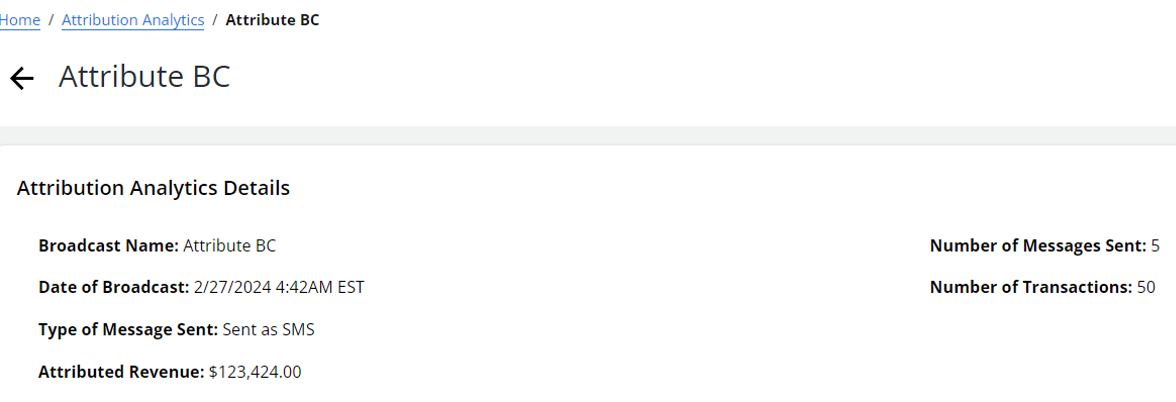
• View More: Clicking on the View More link shows the following attribution analytics details.
-
Broadcast name
-
Date of broadcast
-
Types of messages sent
-
Attributed revenue
-
Company name (available only in the admin view)
-
Number of messages sent
-
Number of transactions
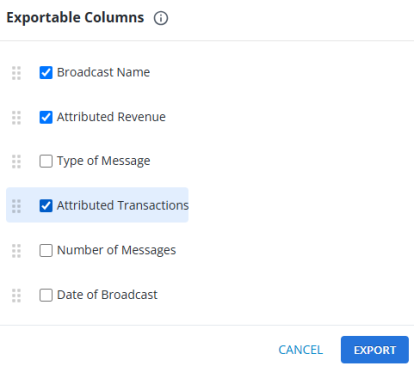
Exporting Data (available only in the client view): Click Save As CSV to export the attribution analytics.The exported CSV contains Broadcast Name, Attributed Revenue, Attributed Transactions, Type of Message, Number of Messages, and Date of Broadcast. It will be accessible through Reports section in the Home menu.

Clicking SAVE AS CSV opens the “Exportable Columns” modal where you can select the columns that you want to include in the CSV file. You can rearrange columns using the double kebab menu. Click EXPORT to export the CSV or CANCEL to cancel the export process. The exported CSV will be accessible through the "Reports" section in the Home menu.
Note: The EXPORT button is enabled when you select at least one column to export.
Search and Filter Functionality:
• Use the search field to locate specific broadcast details. Enter a broadcast name in the Search box, and then select  Search.
• Click Filter to filter user data based on the time range.
Filter Options:
Time Range: Last 30 days (default applied filter), Any Time, This Week, Last Week, This Month, Last Month, This Year, Last Year, and Custom Range.
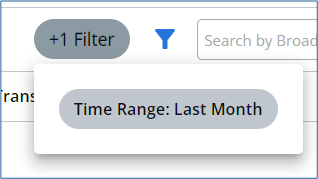
Click Apply to activate selected filters; click Cancel to discard changes. The  filter indicator above the table displays the number of filters that have been applied.
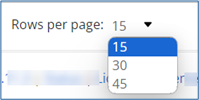
Rows Display Settings: Set the number of rows to be displayed per page (for example, 15, 30, or 45 rows).